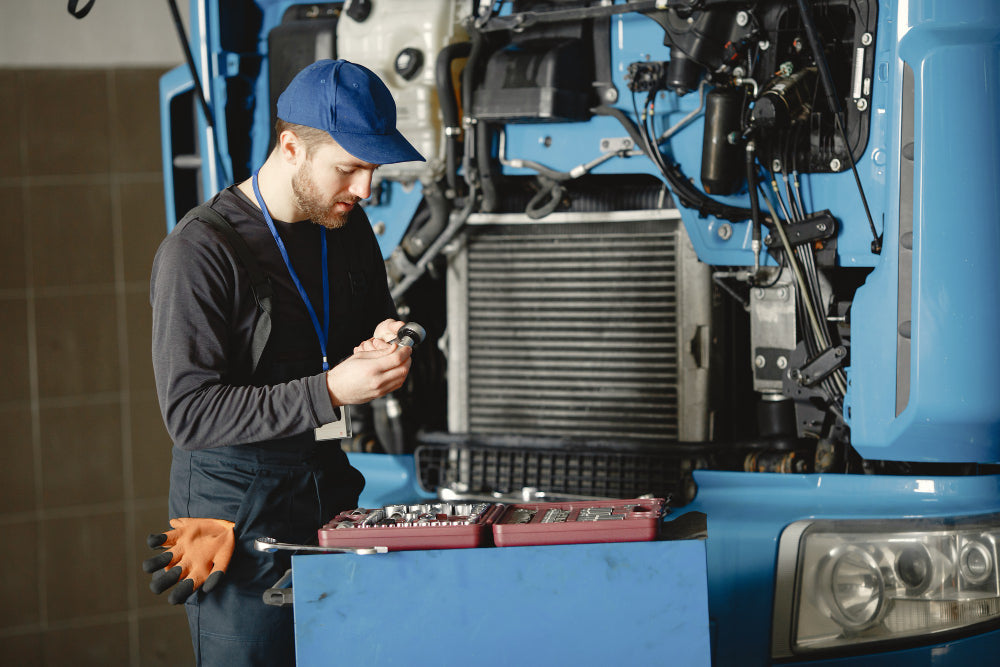
How To Replace The Radiator of Your Truck
If your truck’s radiator doesn’t work as it used to (overheating issues, leaks, etc.), then it’s about time you give it the retirement it deserves. Since you’re here, you probably don’t want to pay a mechanic to do the replacement for you - and lucky you - this is the perfect place to be. We will go over the step-by-step process of replacing the radiator so you can do it by yourself, with your own tools, and with your money safe in your pockets. Let’s get started!
If you're looking for a radiator for your truck give us a call (872) 240-4144!
Tools and Materials Needed:
- New radiator compatible with your truck model
- Basic hand tools (wrenches, screwdrivers, pliers)
- Drain pan
- Coolant
- Safety gear (gloves, safety glasses)
Step 1: Safety First
Park your truck on a flat surface. Turn off the engine and wait for it to cool down before you do anything. This will help to prevent accidental burns. Disconnect the battery and watch out for any other electrical hazards.
Step 2: Drain the Coolant
Put the drain pan under the radiator, then you can open the radiator drain valve or remove the lower radiator hose to drain the coolant. Dispose of the old coolant.
Step 3: Remove Obstructions
Now this vastly depends on the truck model you own, but you may have to remove the hood or tilt it forward to get better access to the radiator. Detach any obstructing components, like the fan shroud or air intake ducts.
Step 4: Disconnect the Radiator
Remove the upper and lower radiator hoses, while making sure you loosen any clamps. If your radiator is equipped with transmission cooler lines, disconnect them as well. Also, unplug any electrical connections, such as temperature sensors, that may be attached to the radiator.
Step 5: Remove the Radiator
Once everything is disconnected, unbolt the radiator mounting brackets. Lift the radiator out of the engine bay carefully to avoid damaging surrounding components or hoses.
Step 6: Install the New Radiator
Put the new radiator into the engine bay and fix it in with the mounting brackets. Reconnect the upper and lower radiator hoses, and pay attention if they are tightly clamped. If applicable, reattach any transmission cooler lines and reconnect electrical components.
Step 7: Refill the Cooling System
Make sure the drain valve is closed, then refill the radiator with the right type and mixture of coolant. Reinstall any components that were removed earlier, such as the fan shroud or air intake ducts.
Step 8: Bleed the Cooling System
Start the engine and wait for it to reach operating temperature while paying attention to the coolant level. As air pockets escape, you may need to add more coolant. Check for any leaks around the radiator or hose connections while doing this.
Step 9: Final Checks
After the engine has cooled down, recheck the coolant level and top it off if necessary. Check if all tools and materials are removed from the engine bay and reconnect the battery. Now you should be done and your truck’s radiator replacement is complete.
Conclusion
If you followed all the steps above, you should have a new fully functional radiator installed in your truck. It’s about time you can get cozy again. We wish you safe roads this new year and good rates. Keep hauling!
If you're looking for a radiator for your truck give us a call (872) 240-4144!


