Volvo D13 Most Common Failing Points
Overview
The Volvo D13 Pre and Post DEF and other aftertreatment equipment both have their own issues. Below are a list of some in depth failing points and descriptions most shops may not take the time to tell you about.
If you're looking for parts for your Volvo D13 give us a call (872) 240-4144!
Or check out these related parts that we have:
- FleetRun | Volvo D13 EGR Cooler | 85136428 | FleetRun FR-COOL-36428
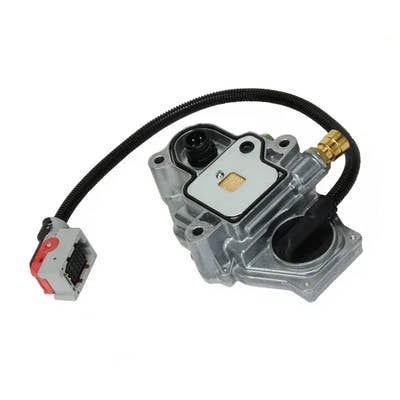
- FleetRun | Volvo / Mack AHI Dosing Module | Volvo 23185531 / 22452551 / 21870667 | FleetRun FR-AFTR651
- FleetRun | Aftertreatment Fuel Injector / 7th Injector Kit | Volvo 21407621 | FleetRun FR-AFTR879
- FleetRun | 85151094 | Volvo D13 Turbo | Holset HE451VG Reman | FleetRun FR-ENGN-51094
1. Injector Sleeves aka Cups Leak
This is arguably the most talked about issue, with good reason. The Volvo D13 has a fuel injector design which consists of the fuel injector sitting directly inside of the head. The fuel passage flow through the injector and the injector sleeve which is pressed into the head seals off the lower coolant passages and provides proper seating for the fuel injector. The issue with this design is the injector sleeve is exposed to many variations of failure such as a bad seating surface between the bottom of the injector sleeve and the head which can be caused by improper seating of the injector, improper adhesive procedure etc. ultimately leading to coolant loss. The other indicator is having the exhaust or combustion gases being pushed into the coolant passages causing pressured coolant which can be noticed when the expansion tank (surge/coolant tank) causing it to come out of the overflow. Coolant loss and exhaust in the coolant or coolant in the exhaust/EGR can also be other common issues such as leaking EGR cooler, cracked cylinder head or leaking cylinder head gasket. The last and most noticeable symptom is hard starting or long crank time, this is caused by the exhaust or combustion gas leaking past the sealing rings causing that combustion gas to get into the fuel passages therefore creating air in the fuel. DO NOT mistake this for other common culprits such as a bad fuel filter housing. For a more detailed description on injector sleeves please read the Volvo D13 Injector Sleeves blog post.
2. Exhaust Rocker Oil Pump Piston Unscrewing
This one can potentially cause catastrophic damage. With that we have the exhaust rocker oil pump piston unscrewing, unfortunately this cannot be seen from the external view. It will require removal of the rocker shaft or loosening the exhaust valve adjustment screw and attempting to remove the exhaust valve bridge. This is a choice for you to make, but the rocker shaft removal is a more ideal option considering you will be doing a valve adjustment anyway while you have the valve cover off. Some of the potential scenarios that can be caused by unscrewed pump cylinders are improper valve lash or none at all, another scenario that is common is the pump cylinder fully unscrewing and exploding under the pressure causing further damage to other internal components of the engine.
3. Variable Geometry Turbocharger (VGT) Nozzle Sticking
A sticking turbo nozzle is a common failure across all heavy duty engines with this design. This issue can cause a long list of symptoms ranging from failed regenerations, loss of power, excessive smoke and worst of all blocking the air intake (this is if the turbo nozzle gets stuck in the closed position in other words pushed to the end of travel going counter clockwise) causing a more severe loss of power making it virtually impossible to drive the truck. This mechanical fault can also set numerous fault codes. The causes of this issue can range from soot plugging the veins that the nozzle opens and closes, binding in the nozzle or nozzle bearing, a sticking VGT Actuator and various other reasons. If you have the extra money it is recommended to replace the turbo and actuator after about 500,000 miles or so (this is not a manufacturer recommendation, but the on the road and in shop experience speaks for itself).
4. VGT Actuator Sticking
The other half of the VGT nozzle sticking is the VGT actuator sticking. Often times the actuator gear sticking can also cause the VGT nozzle to stick (or vice versa) as well therefore damaging both the turbo and actuator. The symptoms for a sticking actuator are the same as a sticking VGT nozzle for the most part, although you may get a few different fault codes with a bad actuator.
5. EGR Cooler Leak
The EGR cooler, just like the turbo and turbo actuator is another common failing point across the board due to the design of the cooler. Symptoms for a coolant leak in your EGR cooler are the obvious; low coolant, another is discoloration in your expansion tank or coolant tank due to exhaust entering the path of coolant. Another symptom is noticing white smoke, signs of leakage around sealing point in the EGR or exhaust system which in that case you can further diagnose the issue by removing that part if its fairly easy (whether it be a hose, pipe etc., eg: EGR crossover pipe) to further examine the inside for signs of coolant. You can also just remove the rear hot pipe elbow (exhaust pipe) that mounts from the EGR valve to the EGR cooler to visually inspect it for wetness or signs of coolant on the exhaust side of the cooler. Leading to the last test I will list, if you have the will and tools to do so, you can perform a pressure test on the coolant system by removing that same hot pipe elbow or just leaving it off, either purchasing or rigging your own makeshift coolant tank cap with a valve stem (if you have extras that is of course) and pressurizing the system to see if you can see where the coolant leaks from and watching how fast the pressure falls (even though a makeshift test kit may not be leak proof).
6. Aftertreatment Hydrocarbon Injector (AHI) aka 7th Injector Plugging
This is a fairly common issue whether its the new or old style injector and can cause multiple symptoms such as failed DPF/DOC/SCR regenerations, often requested regenerations etc. This issue can be checked fairly easily simply by either removing the fuel supply line and inspecting the inside of the fuel supply on the injector for plugging. The upside is if it is plugged the debris cannot get further into the injector thanks to the fuel screen on the entry of the fuel supply in the injector. After checking that you can also fully remove the injector from the diffuser pipe and inspect the tip for soot build up, if you will attempt cleaning this USE CAUTION, the injector tip is a very precise area and cannot be damaged by scratching or being cleaned by any sort of metal object. The braided fuel supply line can also be damaged causing the injector to not receive fuel.
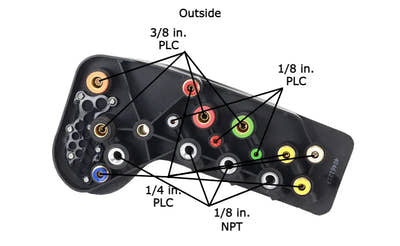
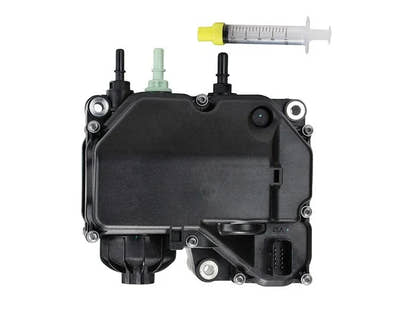
7. Aftertreatment Hydrocarbon Injector (AHI) Doing Module
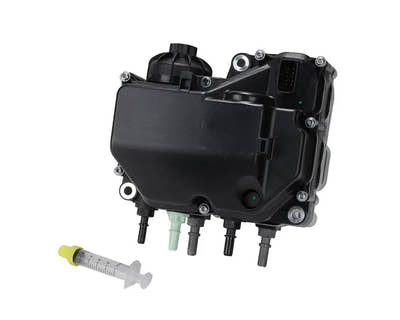
Also referred to as the AHI fuel shutoff module this another common failing point in aftertreatment circuit. This issue mainly applies to the updated module (2013 and up) as it has 3 non-serviceable valves that could be problematic. Symptoms again include aftertreatment related issues like incomplete regenerations. A faulty AHI Dosing Module can thoroughly be diagnosed through fault codes.
If you're looking for parts for your Volvo D13 give us a call (872) 240-4144!
Or check out these related parts that we have:
- FleetRun | Volvo D13 EGR Cooler | 85136428 | FleetRun FR-COOL-36428
- FleetRun | Volvo / Mack AHI Dosing Module | Volvo 23185531 / 22452551 / 21870667 | FleetRun FR-AFTR651
- FleetRun | Aftertreatment Fuel Injector / 7th Injector Kit | Volvo 21407621 | FleetRun FR-AFTR879
- FleetRun | 85151094 | Volvo D13 Turbo | Holset HE451VG Reman | FleetRun FR-ENGN-51094
