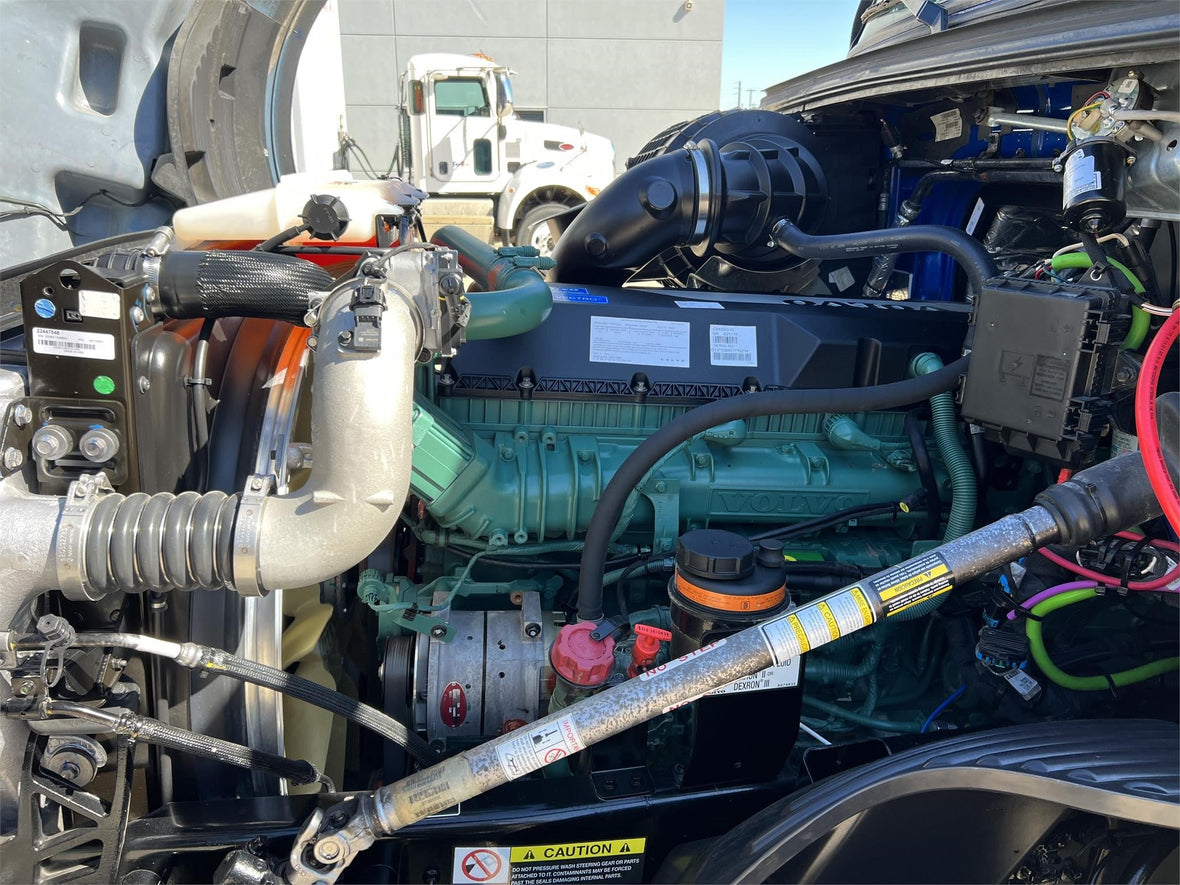
How To Replace The Volvo D13 Alternator of Your VNL
If your Volvo D13 engine isn’t working the way it should, you may want to take a look at the alternator. But since you’re here - you already know the alternator is the problem. Most people are not too excited to take cash out of their pocket and hand it to a mechanic to do the replacement, and you probably aren’t either. That’s why in this blog we’re going over the step-by-step process of replacing the alternator of your Volvo D13 engine. Let’s get to work now!
If you're looking for an alternator for your Volvo VNL give us a call (872) 240-4144!
Or check out these alternators that we have:
- FleetRun | 8600127 | Delco Remy Alternator 36SI 12v 170a | FleetRun FR-CHRG156
- FleetRun | Volvo D13 Alternator | Delco Remy 8600127 | FleetRun FR-CHRG156
Tools You'll Need:
-
Socket and wrench set
-
Torque wrench
-
Screwdrivers
-
Replacement alternator (ensure it matches the amperage rating for your VNL)
-
Safety gloves and glasses
-
Belt tensioner tool
Step 1: Preparation
Park your VNL in a safe spot with the parking brake engaged and disconnect the negative battery cable. It’s important to let the engine is cool before you begin.
Step 2: Find the Alternator
Open the hood and look for the alternator on the passenger side of the engine bay. You may need to remove the air intake piping or other nearby components to get access to it – it depends on your VNL model configuration.
Step 3: Release Belt Tension
Find the serpentine belt tensioner and use the belt tensioner tool to release the tension, then slide the belt off the alternator pulley. Pay close attention so you can remember its routing for reinstallation.
Step 4: Disconnect Electrical Connections
Remove the main power cable and the voltage regulator connector from the alternator. They may be secured with nuts or clips – and if they are, label or take a picture of the connections to reattach them properly.
Step 5: Remove Mounting Bolts
Get the right socket and remove the bolts that hold the alternator to the engine block or mounting bracket. Support the alternator while removing the final bolt to make sure you don’t drop it.
Step 6: Install the New Alternator
Put the new alternator onto the mounting bracket and hand-thread the bolts to align it. Tighten the bolts using a torque wrench.
Step 7: Reconnect Electrical Connections
Attach the electrical connections to the new alternator while making sure each cable and connector is fastened. Check the notes or photos you took earlier to confirm the placement.
Step 8: Reinstall the Serpentine Belt
Grab the belt tensioner tool and route the serpentine belt over the alternator pulley. Put back the other components as well, if applicable. Make sure the belt is aligned correctly on all pulleys.
Conclusion
If you did all the steps above correctly, you should be left with a fully functional Volvo D13 engine. Take good care of it and keep hauling!
If you're looking for an alternator for your Volvo VNL give us a call (872) 240-4144!
Or check out these alternators that we have:
- FleetRun | 8600127 | Delco Remy Alternator 36SI 12v 170a | FleetRun FR-CHRG156
- FleetRun | Volvo D13 Alternator | Delco Remy 8600127 | FleetRun FR-CHRG156


