How to Replace the Brake Pads of Your Semi-Truck
Your truck’s brake pads are one of the most important components when it comes to ensuring safety for you and others on the road. On average, the brake pads should be replaced every 50,000 miles or sooner, depending on the distance traveled or your driving style.
If you were to take your truck to a truck stop, replacing the brakes will cost you around $500, but if you want to do it yourself and save some money, make sure you follow these steps closely:
Tools needed:
- New brake pads suitable for your semi-truck model
- Socket wrench set
- Torque wrench
- C-clamp or brake caliper tool
- Jack and jack stands
- Gloves and safety goggles
- Prepare the truck: Park the truck on a flat, stable surface, engage the parking brake, and place wheel chocks around the wheels that are not being worked on to prevent any movement.
- Loosen the Lug Nuts: Use a lug wrench or an impact wrench to loosen the nuts slightly, but do not remove them completely at this stage.
- Lift the Truck: Lift the truck until the wheel is off the ground, place the jack stands under the truck to secure it in place. Make sure the truck is stable before moving on.
- Remove the Wheel: Now you can fully remove the lug nuts. Take off the wheel and set it aside.
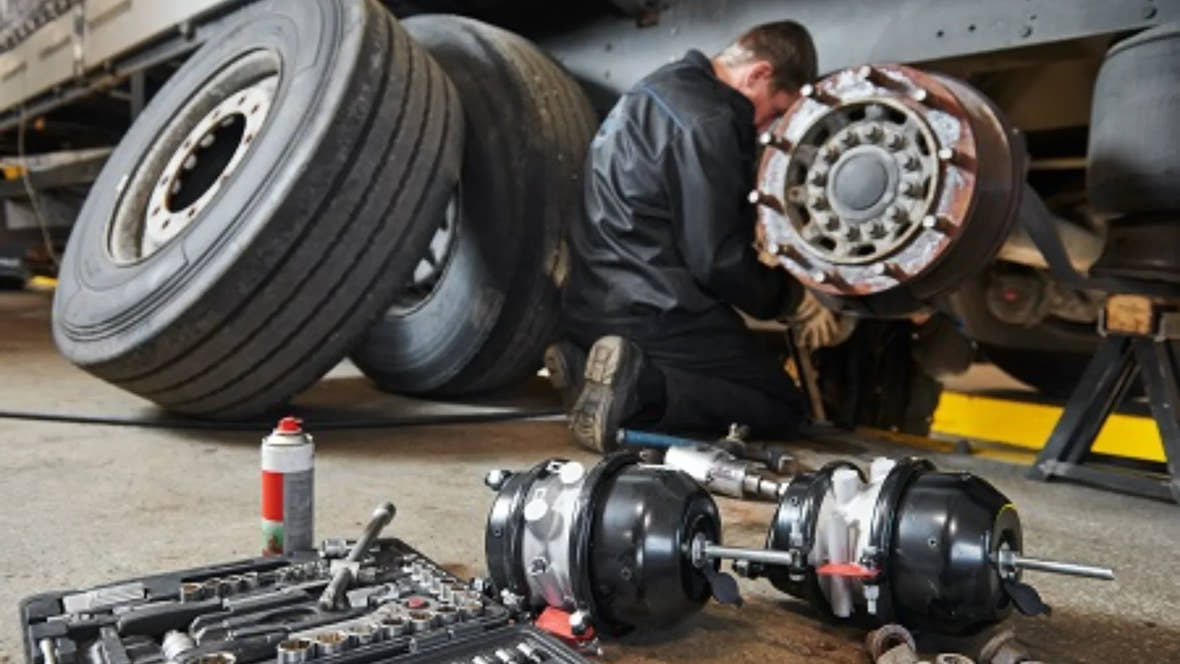
- Access the Brake Caliper: Locate the brake caliper, which is mounted over the brake rotor. Use a socket wrench to remove the bolts that hold the caliper in place. Carefully slide the caliper off the rotor. Do not let it hang by the brake hose; instead, use a wire or a bungee cord to secure it.
- Remove the Old Brake Pads: The brake pads will be seated inside the caliper bracket. Slide the old brake pads out from their slots. Inspect the brake rotor for any signs of damage or excessive wear. If the rotor is damaged, it may need to be replaced or resurfaced.
- Compress the Caliper Piston: Use a C-clamp or a brake caliper tool to slowly compress the caliper piston back into its housing. Be careful to avoid damaging the piston or the rubber boot around it.
- Install the New Brake Pads: Insert the new brake pads into the slots in the caliper bracket. Make sure the pads are properly aligned and seated.
- Reattach the Brake Caliper: Carefully place the caliper back over the rotor and new brake pads. Align it with the bolt holes, then insert and tighten the caliper bolts with a socket wrench. Use a torque wrench to tighten the bolts to the manufacturer’s specifications.
- Reinstall the Wheel: Place the wheel back onto the hub and hand-tighten the lug nuts to hold the wheel in place.
- Lower the Truck: Carefully remove the jack stands. Lower the truck back to the ground using the jack.
- Tighten the Lug Nuts: Once the truck is on the ground, use a torque wrench to tighten the lug nuts in a star pattern. Make sure they are tightened to the manufacturer’s recommended torque specifications.
- Test the Brakes: Press the brake pedal several times to ensure the pads are seated correctly. If everything feels ok, you’re good to go.
Conclusion
Replacing the brake pads of your truck may seem like a difficult task, but if you take things slowly and follow the steps mentioned above you will be able to safely replace the brakes and keep precious money to yourself. Keep hauling!
